Carving a serpent motif onto a pumpkin can turn a seasonal decoration into a conversation piece, yet the process is often seen as intimidating. This guide strips the myth away, delivering a clear, value‑focused roadmap that lets novice carvers achieve a crisp snake design without costly tools or endless trial‑and‑error.
Why a Snake Motif Works on a Pumpkin
Unlike broad‑face jack‑o‑lanterns, a snake pattern leverages the pumpkin’s natural curvature. The winding body follows the round contour, creating depth that highlights the carved lines. For buyers looking to stretch a modest budget, a single pumpkin carved with a snake can rival the visual impact of multiple, simpler designs.
Preparing Materials – The Minimalist Toolkit
- Pumpkin: Choose a medium‑sized (10‑12 in) pumpkin with a smooth skin; any blemishes can disrupt the line work.
- Tools: A serrated kitchen knife, a small paring knife, and a sturdy metal spoon for scooping.
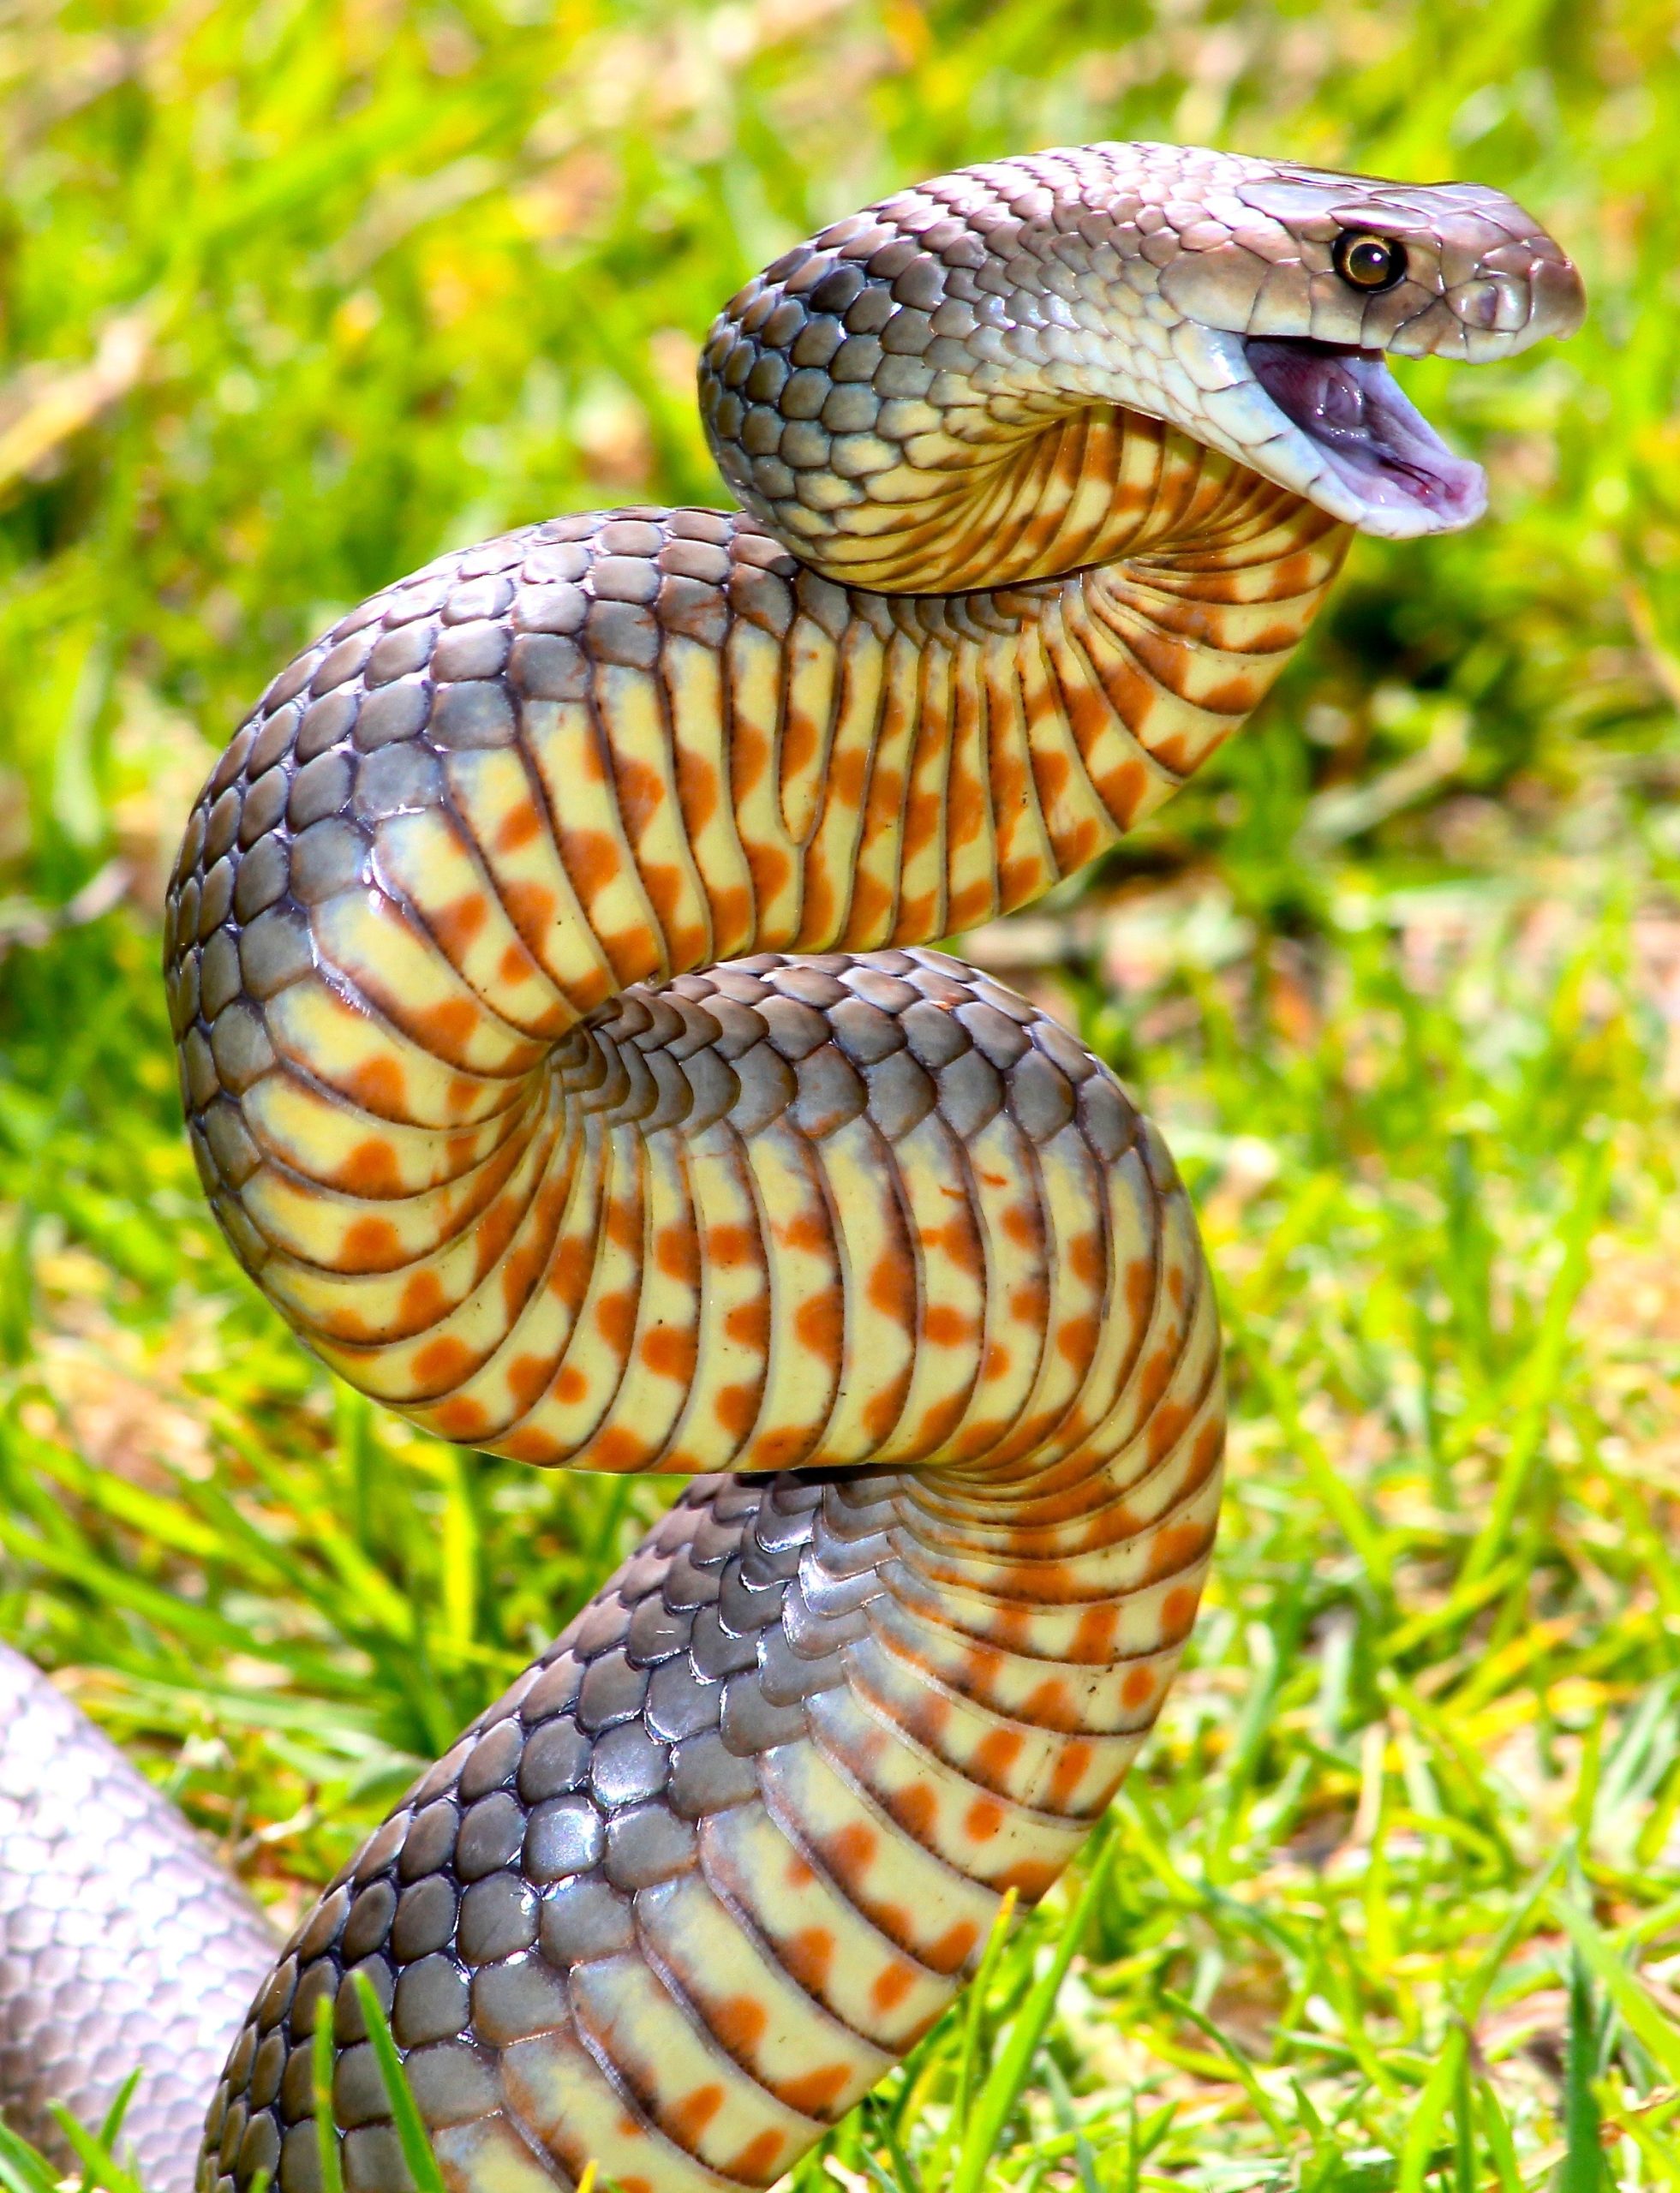
- Template: Print a simple snake outline (see image) and tape it to the pumpkin’s surface.
- Marker: Use a washable black or orange marker to trace the design.
Step‑by‑Step Carving Process
- Clean the interior. Slice the top off, scoop out seeds and pulp with the spoon, and wipe the walls dry.
- Transfer the design. Position the printed snake template, secure with tape, and trace the lines onto the pumpkin’s outer skin.
- Cut the outline. Using the serrated knife, follow the traced edge, keeping the blade perpendicular to the surface for uniform depth.
- Detail the scales. With the paring knife, carve short, angled cuts along the snake’s body to suggest scales. Small, consistent cuts prevent splintering.
- Light the interior. Place a tea light or LED candle inside; the carved sections will glow, making the snake appear to slither in the dark.
Safety and Clean‑up Tips
Carving tools are sharp, and pumpkins are slippery when wet. Wear a cut‑resistant glove on the hand holding the knife, and keep the work area well‑lit. After carving, rinse the pumpkin with a gentle spray to remove marker residue, then store it in a cool, dry spot to prolong freshness.

Cost‑Benefit Snapshot
For under $20—covering a pumpkin and basic kitchen knives—carvers gain a decorative piece that can be displayed for weeks. Compared with purchasing pre‑carved decor, the DIY approach offers a personal touch and the satisfaction of creating a themed centerpiece without outsourcing.
Next Steps for the Ambitious Beginner
Once comfortable with a single snake, experiment with variations: add eyes made from pumpkin seeds, or overlay a second, thinner snake to suggest movement. Online forums host galleries where beginners share tweaks, allowing you to refine technique without formal classes.
By following this concise roadmap, anyone can convert a humble pumpkin into a striking snake sculpture, delivering seasonal flair while keeping costs and effort low. The end result isn’t just a festive ornament—it’s proof that a thoughtful design can elevate a simple tradition into a standout display.
Look Out For These New York Snakes - Scenic Hudson
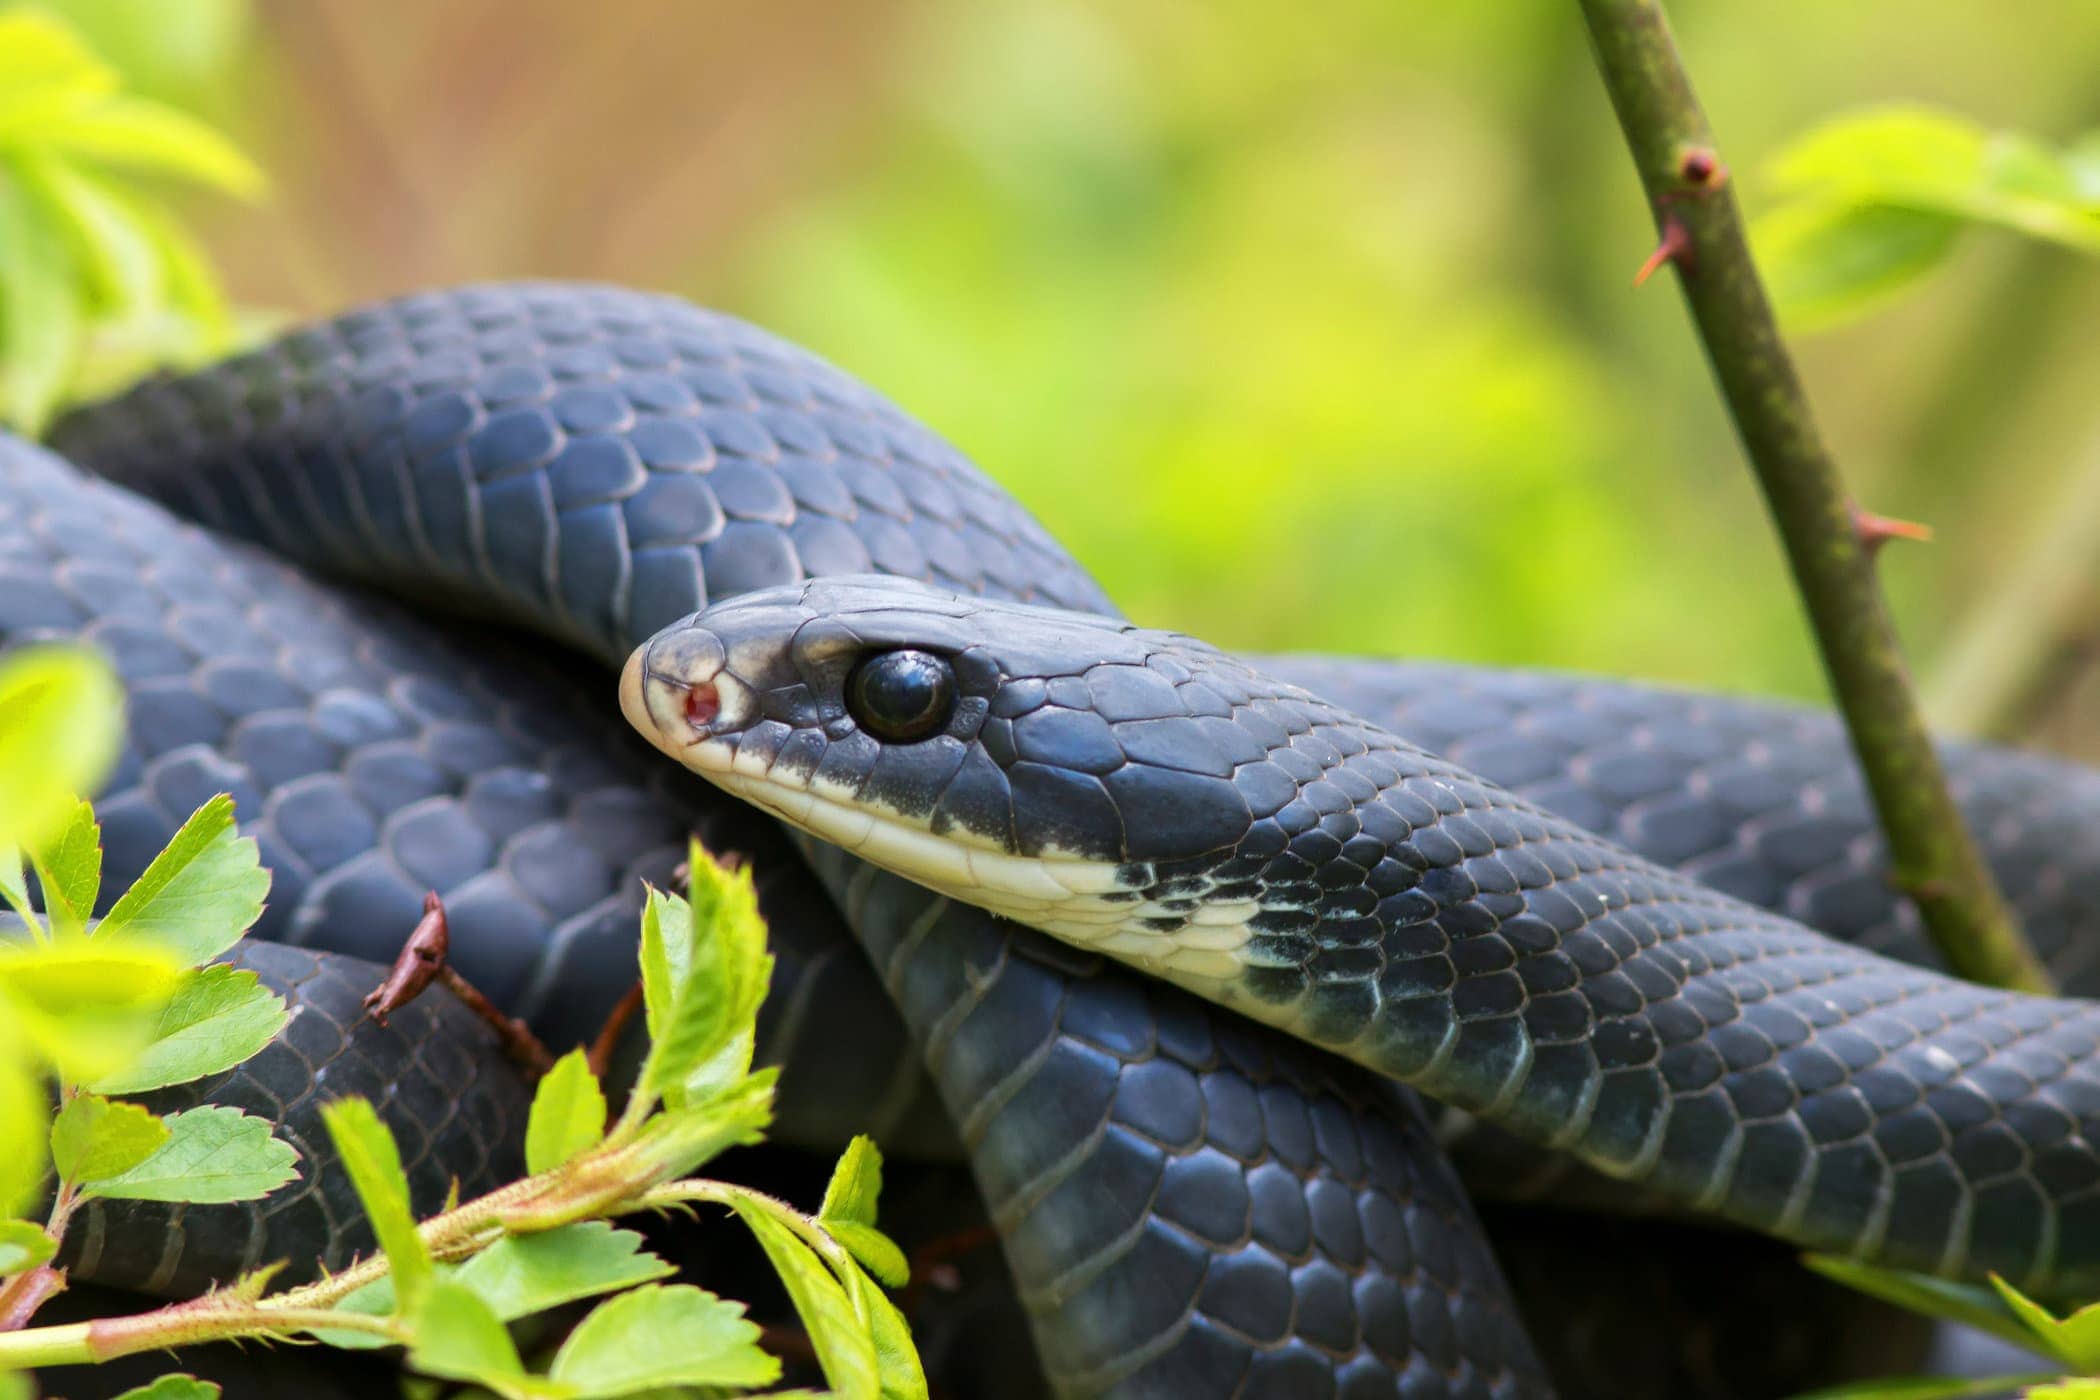
Look Out For These New York Snakes - Scenic Hudson
Boomslang Snake Facts, Description, Diet, And Pictures
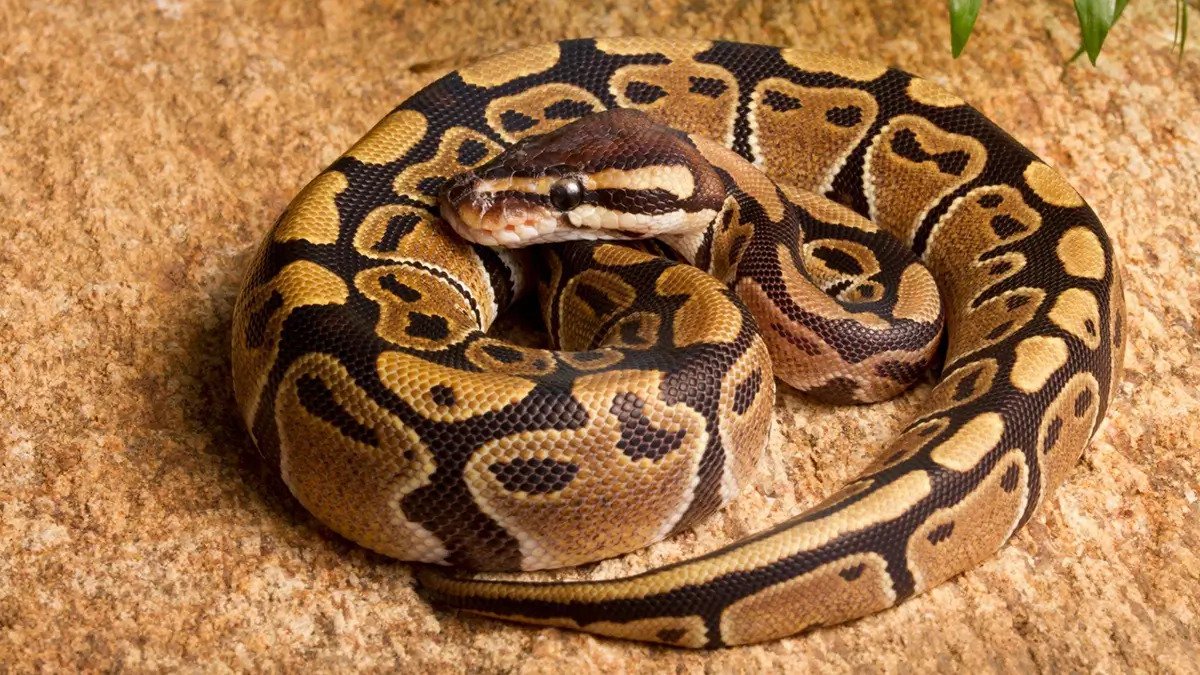
Boomslang Snake Facts, Description, Diet, and Pictures
60,000+ Free Snake Texture & Snake Images - Pixabay

60,000+ Free Snake Texture & Snake Images - Pixabay